News
EVs
Tech
Editorials
Business
Tech
55 posts
By
James Oliver
July 12, 2025
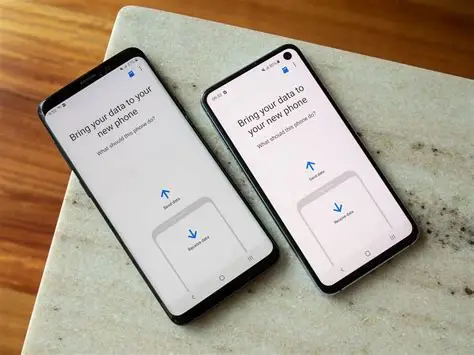
How to Clone a Samsung Phone Without Samsung Smart Switch
By
Elijah Lucas
June 24, 2025
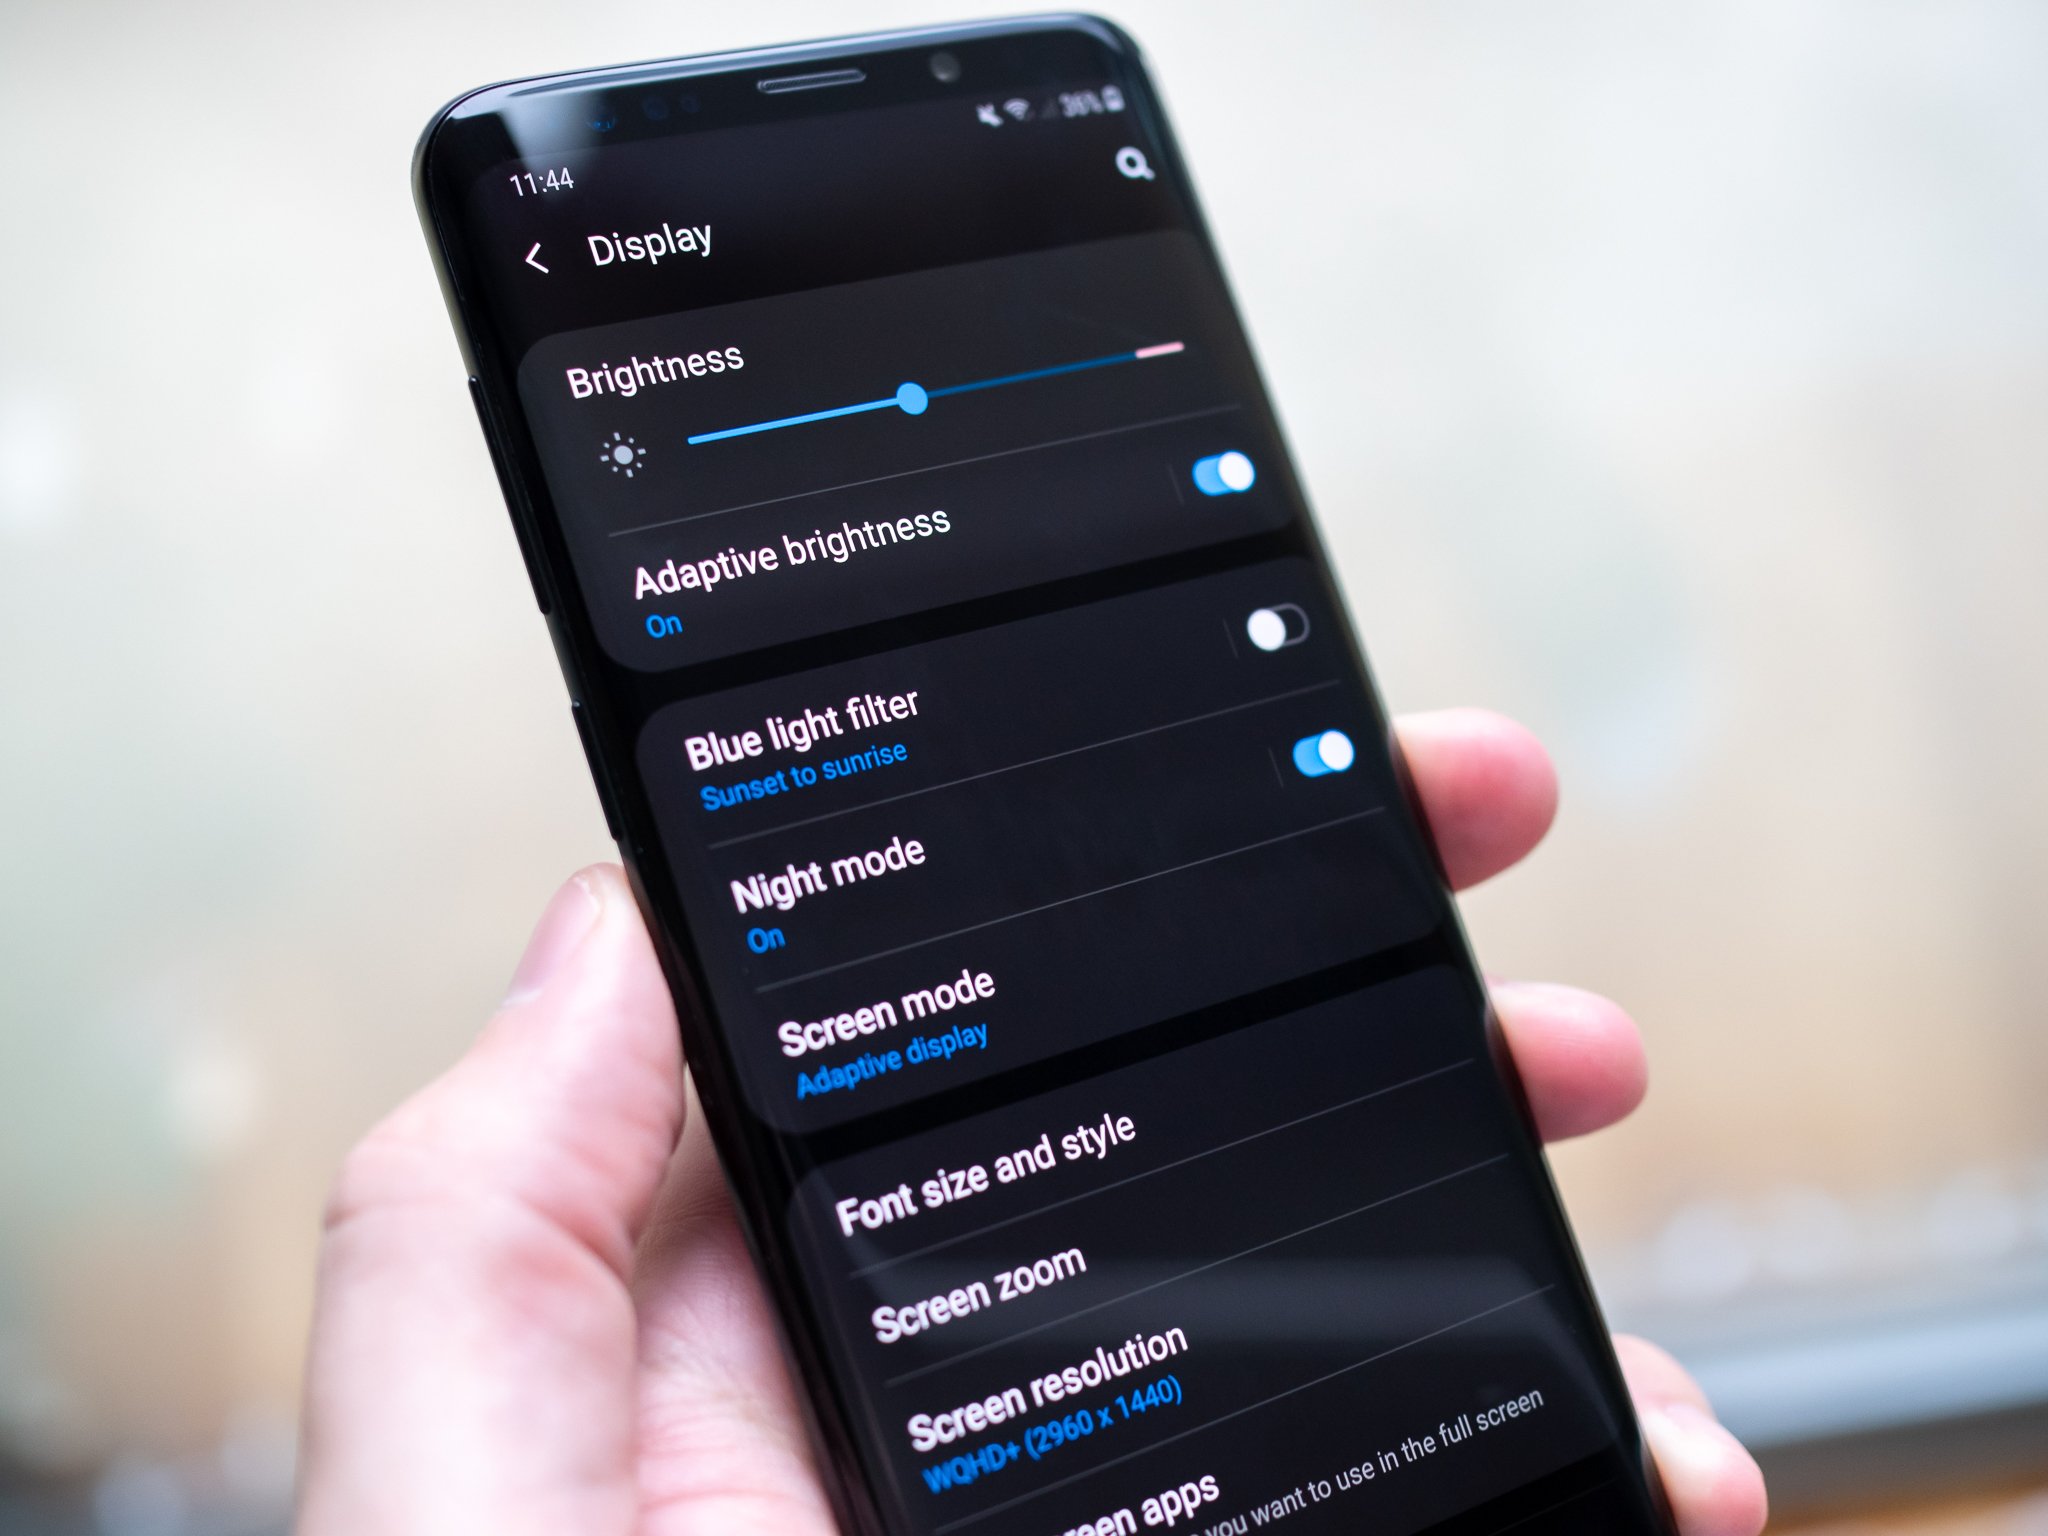
How to Turn on Dark Mode in Samsung One UI
By
Elijah Lucas
May 30, 2025
How to Connect Samsung Fridge to Wi-Fi
By
Elijah Lucas
May 23, 2025
How to Update Samsung Galaxy Watch Software
By
Elijah Lucas
May 21, 2025
How to Fix Samsung Galaxy Phone Stuck on Logo
By
Elijah Lucas
May 20, 2025
How to Recover Photos If iPhone Was Reset
By
Elijah Lucas
May 19, 2025
How to Open Device Manager from Run in Windows
By
Elijah Lucas
May 17, 2025
How to Speed Up an Old Samsung Galaxy Phone
By
Elijah Lucas
May 16, 2025
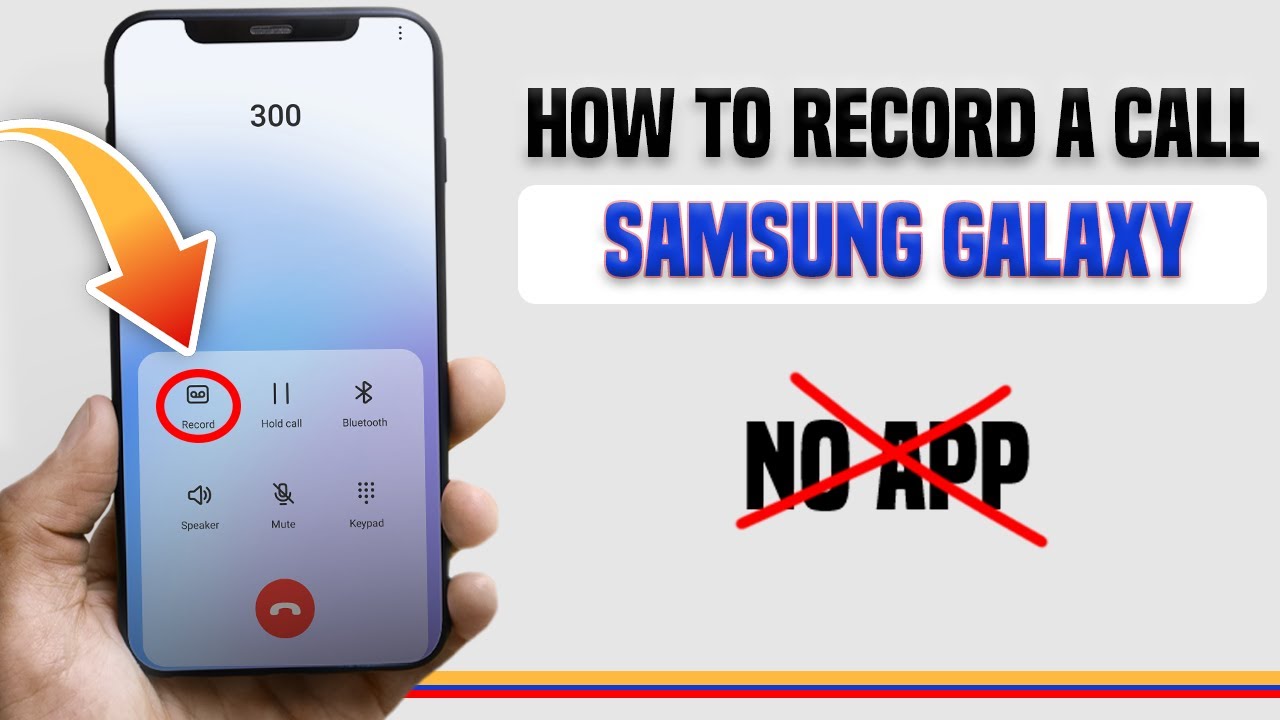
How to Enable Call Recording on Samsung Phone
By
Elijah Lucas
May 15, 2025
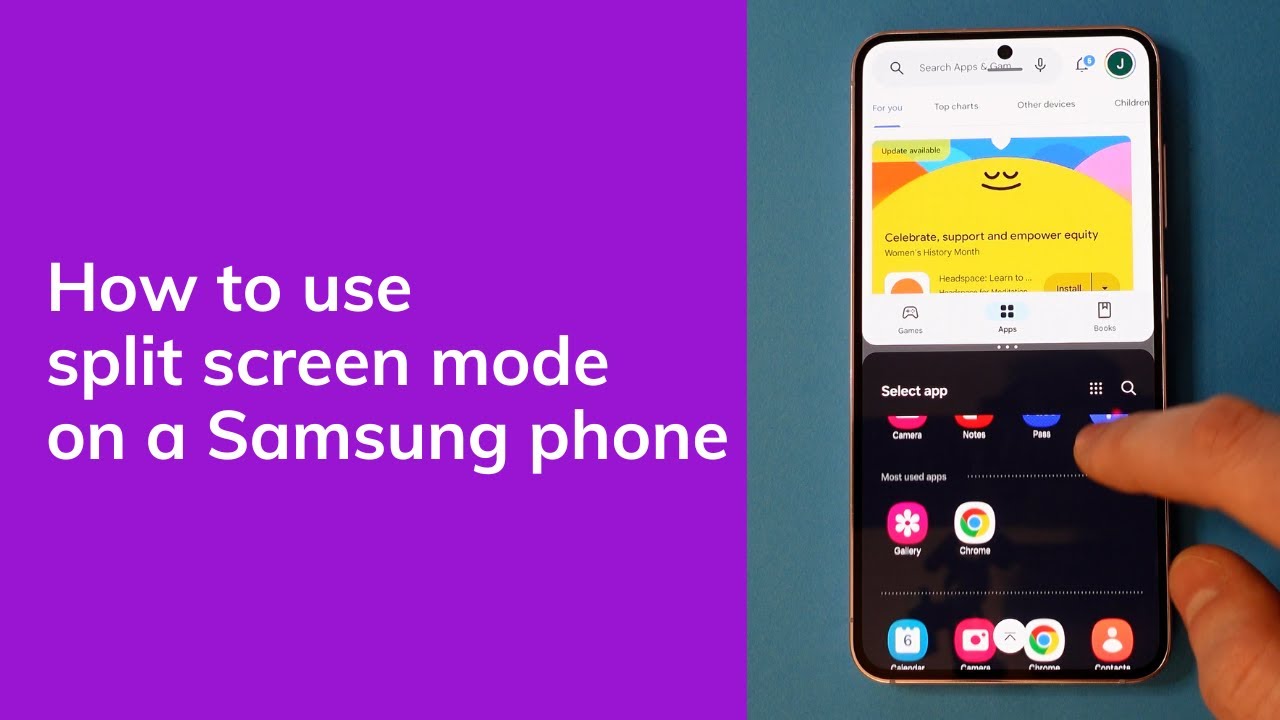
How to Enable Split Screen on Samsung Galaxy Phone
By
Elijah Lucas
May 14, 2025
How to Update Software on Samsung Galaxy Manually
By
Elijah Lucas
May 13, 2025
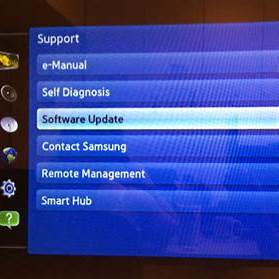
How to Update Software on Samsung Smart TV manually
Posts pagination
1
2
…
5