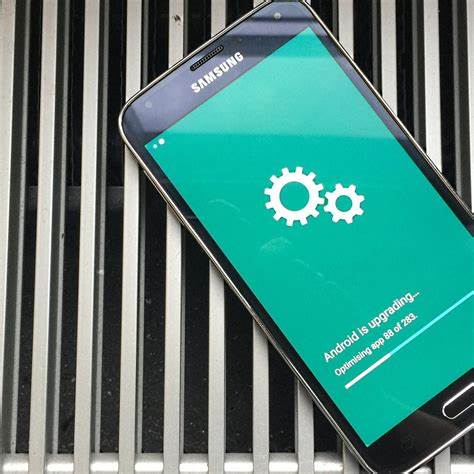
Keeping your Samsung Galaxy device updated ensures optimal performance, enhanced security, and access to the latest features. While over-the-air (OTA) updates are common, there are instances where manual updates become necessary. This guide provides a comprehensive walkthrough on manually updating your Samsung Galaxy device’s software.
Why Manually Update Your Samsung Galaxy?
Manual updates might be required when:
- OTA updates are delayed: Carrier restrictions or regional rollouts can postpone updates.
- Device issues: Software glitches may prevent automatic updates.
- Custom firmware: Users with custom ROMs or rooted devices may need manual methods.
Preparation Before Updating
Before initiating a manual update:
- Backup Data: Use Samsung Cloud or Smart Switch to back up important data.
- Charge Your Device: Ensure at least 50% battery life to prevent interruptions.
- Stable Internet Connection: A reliable Wi-Fi connection is recommended for downloads.
Method 1: Update via Device Settings
This is the most straightforward method for manual updates.
Steps:
- Open Settings: Access the Settings app from your home screen or app drawer.
- Navigate to Software Update: Scroll down and tap on “Software update” or “System updates.”
- Check for Updates: Tap “Download and install” or “Check for updates.”
- Install Update: If an update is available, follow the on-screen prompts to download and install.
Note: If no update is found, your device may already be up-to-date or the update hasn’t been released for your region yet.
Method 2: Update Using Samsung Smart Switch
Samsung Smart Switch is a desktop application that facilitates device updates.
Steps:
- Download Smart Switch: Install the application on your PC or Mac from Samsung’s official website.
- Connect Your Device: Use a USB cable to connect your Samsung Galaxy device to the computer.
- Launch Smart Switch: Open the application; it should recognize your device.
- Check for Updates: If an update is available, a prompt will appear. Click “Update.”
- Follow Prompts: Proceed with the on-screen instructions to complete the update.
Note: Do not disconnect your device during the update process.
Method 3: Update Using Odin (Advanced Users)
Odin is Samsung’s firmware flashing tool, suitable for advanced users.
Caution: Incorrect use can lead to device malfunctions. Proceed only if you’re confident.
Steps:
- Download Odin: Obtain the latest version from reputable sources.
- Download Firmware: Use tools like SamFirm or visit official forums to get the correct firmware for your device model.
- Enter Download Mode:
- Turn off your device.
- Press and hold Volume Down + Power + Home/Bixby buttons simultaneously.
- Press Volume Up to continue.
- Connect Device to PC: Use a USB cable to connect your device. Odin should recognize it.
- Load Firmware into Odin:
- Click on the corresponding buttons (BL, AP, CP, CSC) and load the respective firmware files.
- Start Flashing: Click “Start” and wait for the process to complete. Your device will reboot automatically.
Note: Ensure the firmware matches your device model and region.
Troubleshooting Common Issues
- Update Not Available: Updates roll out in phases. Check again later or use Smart Switch.
- Insufficient Storage: Free up space by deleting unnecessary files or apps.
- Battery Drain Post-Update: It’s common for the battery to drain faster initially. It should stabilize after a few days.
- Device Boot Loop: If your device gets stuck in a boot loop post-update, consider performing a factory reset or seek professional assistance.
Conclusion
Manually updating your Samsung Galaxy device ensures you have the latest features and security patches. Whether through device settings, Smart Switch, or Odin, choose the method that best suits your comfort level and technical expertise. Always ensure you follow the steps carefully to prevent any issues.


